The Battle for The Spear of Konor: mission 2 campaign update
Counter strike! The Ultramarines strike back in the Emperor's Name.
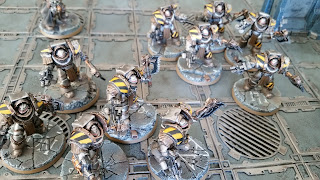 |
The Iron Warriors move deeper into the Zone Mortalis |
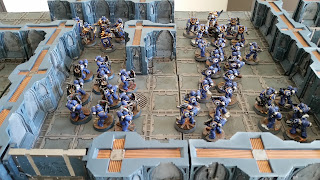 |
The Ultramarines assemble a force to launch a counter strike |
Having lost the first engagement with the Iron Warriors, the Ultramarine XXth Chapter aboard the Spear of Konor launched a desperate counter-strike to prevent the Iron Warriors extending their beachhead in order to allow them to bring in heavier reinforcements of dreadnoughts and battle automata.
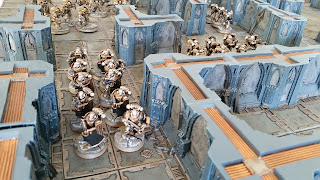
The battle was fought as a Search and Destroy mission, with the Iron Warriors' aim being to capture 3 tactical objectives and strengthen their hold on the Starboard 3rd deck of the Spear of Konor. The Ultramarines had assembled a Breacher Squad to defend one objective at all costs, supported by a unit equipped with Heavy Flamers. With first mover advantage, the XIIIth Legion pushed forward a tactical unit to seize the second tactical objective, with a unit of Cataphractii terminators offering support. |
| The Iron Warriors aim to extend their beachhead upon the Spear of Konor |
 |
| On Turn 1, the IVth Legion sent two Breacher Squads forward to establish a front line behind which to bring up reinforcements |
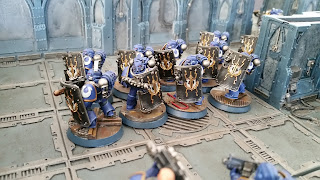 |
| The Ultramarines had assembled a Breacher Squad to defend one of the tactical objectives |
The Iron Warriors prepared a two-pronged attack on the Ultramarines in the centre of the board. But for some poor dice, they should have decimated the Ultramarine Cataphractii and 15-man tactical unit. The Ultramarine Cataphractii lost 3 of their unit, but the tactical squad survived with only one casualty. Their return fire - 14 bolters at rapid fire range - cut down 3 of the Iron Warriors' first Breacher Squad, who lost their nerve and fell back. The remaining Cataphractii opened up on the second Breacher squad, the rotor cannon tearing two Breachers in half before their comrades eyes, with a third falling under the fire of the other Terminator's combi bolter. Badly shaken, the second Breacher Squad panicked and fled from the engagement.
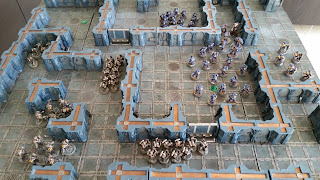 |
| At the end of Turn 2, the Iron Warriors had manoeuvred into position for a pincer attack on the Ultramarines in the centre |
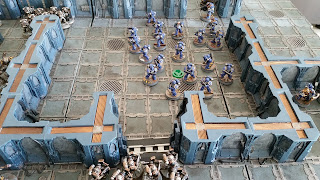
One unit of Iron Warriors' Cataphractii tried to turn the tide of the battle by opening a salvo on the Ultramarines' Breacher squad, but even the heavy flamer, sending a roiling vortex of promethium fire into the chamber where the Breachers were waiting failed to make any impact. Safe behind their shield wall, the Breacher Squad waited for their opportunity, and bolstered by the Heavy Support unit wielding 5 heavy-flamers of their own, they punished the Iron Warriors' terminators for their complacency. With two comrades boiled alive in their armour, the remainder of the squad made a hastened retreat. The Iron Warirors' tactical unit armed with volkite calivers were finished off by the Ultramarines' Cataphractii, and all that was left was for the Ultramarines to wipe out the two remaining traitor units.
 |
| The battle nears its end. Both Iron Warriors Breacher Squads have fallen back, with only one regrouping. |
The Ultramarine counter-strike had succeeded, and the Iron Warriors were driven back to their original beachhead. Praise to the Emperor, blessed be his name!


Comments
Post a Comment