Bringing the Zone Mortalis to life: a painting guide
You might well ask "Why TheCrusadeEternal?" The answer is simple. First, as a reference to The Great Crusade, Mankind's reconquest of the galaxy before the Horus Heresy. Second, and more importantly, as a reference to the fact that when painting, nothing is ever finished; there is always one more layer to do, or weathering to be enhanced. It is a never-ending task. Just as Mankind's war against the xenos would never be completed.
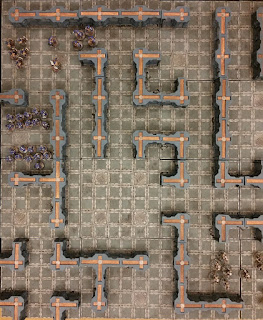 |
| Death Zone by name, Death Zone by nature. |
Nevertheless, this summer I completed the Zone Mortalis project. Like the Emperor's crusade to reclaim the Stars, it was a long time in the planning. I have had the tiles for over two years, and washed and primed them straight away. I then spent two years working out what colour scheme I wanted to employ - I wanted a scheme that would represent a battleship at least as well as an underground bunker. This summer, colour scheme finalised, I began the project.
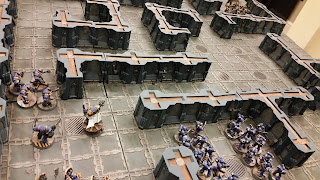 |
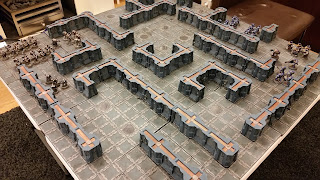
| Who wouldn't want to wage war on a board like this? |
A word of caution. The Zone Mortalis tiles make for an inspiring battlefield. They are Space Hulk made real. But they are awkward to paint (like all large terrain pieces), soak up paint, tear up brushes and, in terms of time, require devotion and commitment that perhaps surpasses even that the Astartes legions require from their ranks. Three Winsor and Newton Series 7 Size 3 brushes died in this project (these aren't cast from the lovely smooth resin the Custodes Galatus Contemptor Dreadnought is made from). Yes, everything was painted by brush (apart from the undercoats). Each tile took about 10 hours to paint. I painted 20, in order to allow for plenty of permutations of the 4x4 board, and I have other tiles still to paint. However, a hard deadline of the end of August was set, simply because in London, using the varnish sprays can cause heartache when the temperatures dip and the humidity rises (which is most of the year). And terrain needs a varnish, especially when it is stored in boxes.
For those still interested, here is the scheme....
 |
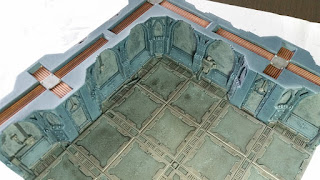
| I painted out of the bottle (heresy!). This is terrain. I wasn't going to use my wet palette. |
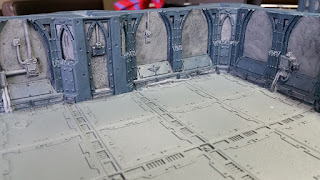 |
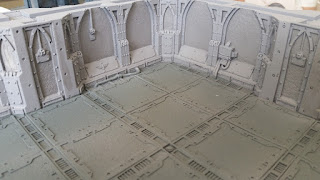
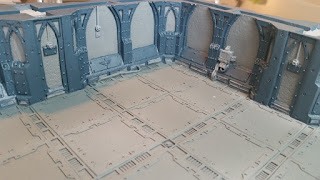
| To tidy up the shading, I scumbled the flat panels with Dark Reaper (that's a wettish dry brush), and then drybrushed Dark Reaper over all the plate sections. |
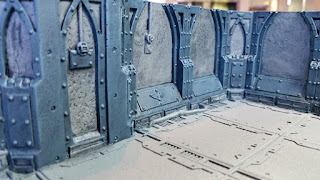 |
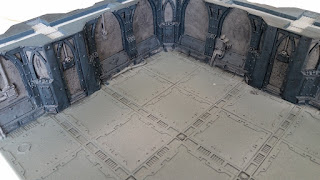
| A drybrush of Thunderhawk blue was employed to highlight the edges. |
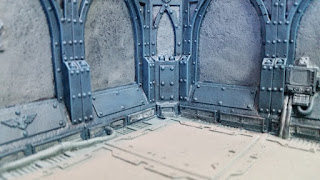 |
| Another picture showing how the Thunderhawk Blue helps to bring out the details. |
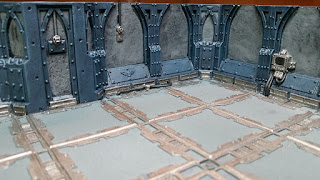 |
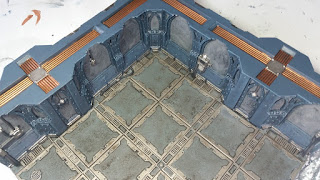
| Mrs TheCrusadeEternal assisted by painting the metal plate on the flooring with Leadbelcher (watered down as described and requiring a good shake every 5 minutes). |
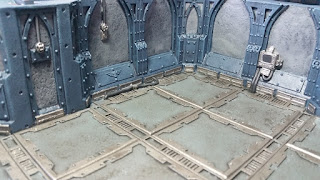 |
| A heavy wash was applied of the shade I use on my Iron Warriors: a 50:50 mix of Agrax Earthshade and Nuln Oil. It's almost impossible to be too heavy handed here. |
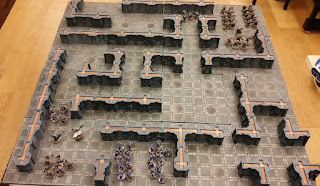 |
| A significant commitment. But worth it. |
 |
| It would be great to add some weathering (chipped paint effects) and drybrush the floor tiles and wall sections to emphasise the low lighting. But not this summer. |
 |
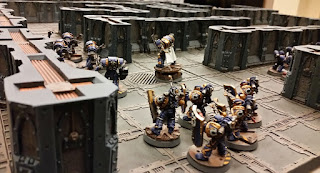
A detachment of Iron Warriors enters the Zone Mortalis |



Comments
Post a Comment